

The most reliable cure is simple: blanch live sand shrimp for a short period, cool them immediately in an ice bath, then submerge in a salt/sugar/borax brine for a day or two. That’s the method anglers on Oregon and Washington rivers keep coming back to, and it produces firm, colorful tails that hold through multiple casts and freeze well for months.
Quick-check before you start:
- Blanch time: 90–180 seconds in boiling water, no longer
- Brine ratio: 1 cup non-iodized salt + 1 cup sugar + 1 cup powdered borax per quart of water
- Cure time: 24–48 hours refrigerated
- Storage: vacuum seal or jar-pack, then freeze
- Do: cool immediately in an ice bath after blanching
- Don’t: use iodized salt — it breaks down texture and kills color
Table of Contents
- How do you cure sand shrimp bait step by step?
- What are the quickest alternatives when you can’t do a full cure?
- How do you rig cured sand shrimp to last more casts?
- Why is your cured bait coming out wrong?
- The best ready-made cure to pair with your recipe
- Key Takeaways
- What actually matters when you cure sand shrimp
- Get the cure that makes every batch count
How do you cure sand shrimp bait step by step?
Selecting and prepping your shrimp
Start with the firmest specimens you can find. Large males with harder shells hold up far better through the cure than soft females carrying eggs, which tend to fall apart regardless of method. Sort out any shrimp where the head is separating from the body or the shell feels hollow — those won’t fish well no matter what you do to them.
The blanch step (don’t skip this)
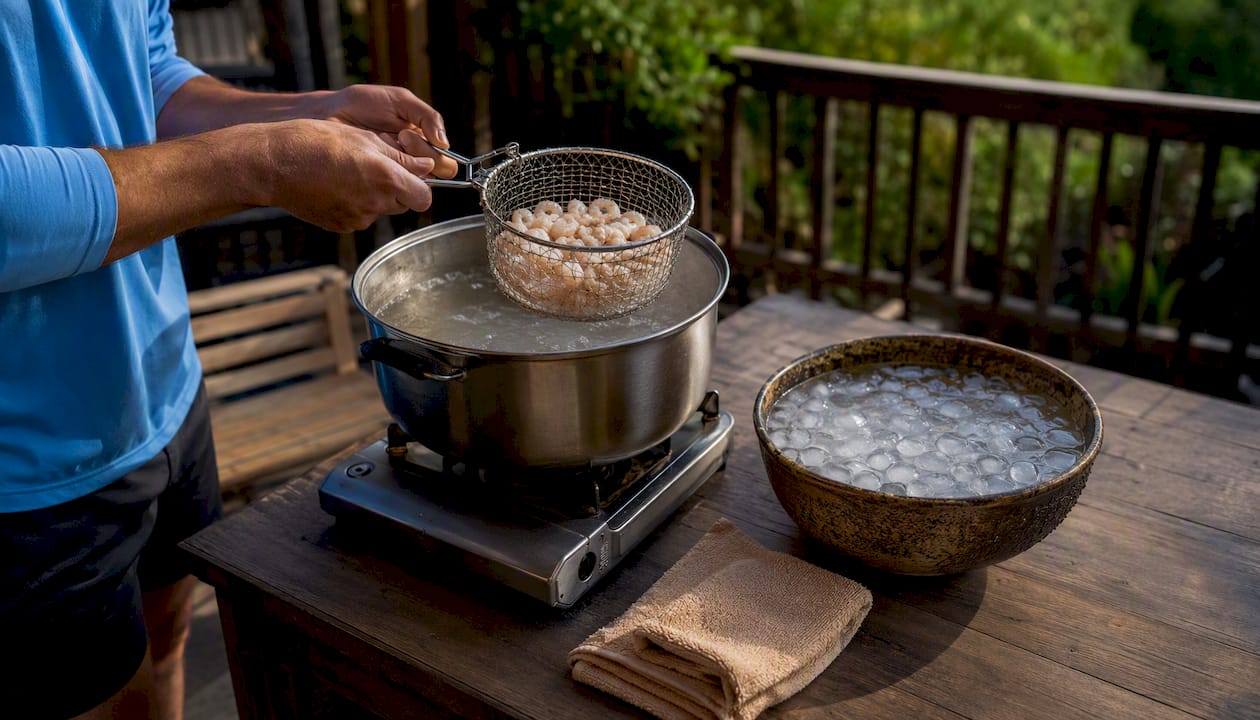
Bring a pot of water to a full boil. Drop your shrimp in and watch the clock. Forum experiments show 90–180 seconds is the sweet spot: enough to set the proteins so the tail accepts the brine and holds color, but short enough to avoid the brittle, crumbly texture that ruins a batch. The moment time is up, pull them straight into an ice bath. That cold shock stops the cooking instantly. Skip the ice bath and you’ll overcook the tail even after it leaves the pot.
The brine recipe
This is the community-tested ratio that shows up consistently across PNW fishing forums:
| Ingredient | Amount per quart of water | Notes |
|---|---|---|
| Non-iodized salt | 1 cup | Never iodized — ruins texture |
| White sugar | 1 cup | Adds firmness and color uptake |
| Powdered borax | 1 cup | Preserves and firms the tail |
| Water | 1 quart | Cold or room temp |
| Liquid egg cure (optional) | Per label | Adds scent and color |
| Shrimp scent oil (optional) | A few drops | Sand shrimp oil, anise, or vanilla |
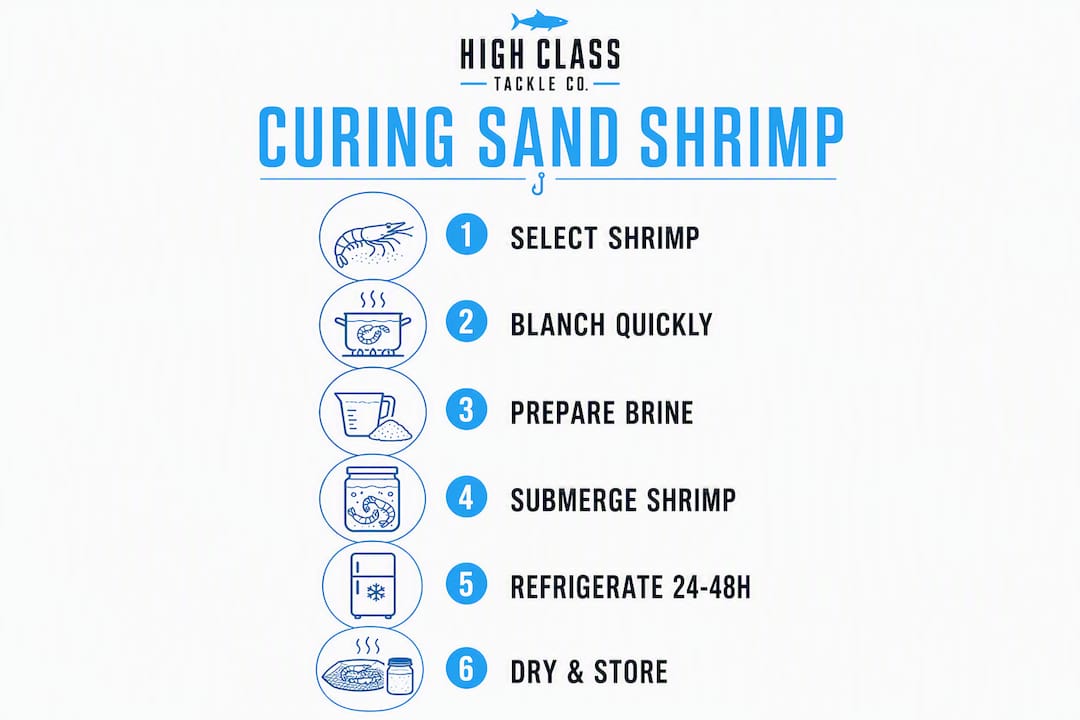
Pack shrimp into a jar or container, pour brine over until fully submerged, seal, and refrigerate.
Cure time and what to look for
Leave them 24–48 hours. At the 24-hour mark, pull one tail and check it. You want a noticeable color change (deeper orange or red if you used a dye cure), and the tail should feel firm but still pliable when you bend it. If it snaps, the cure ran too long or the blanch was too aggressive. If it still feels soft and mushy, give it another 6–12 hours and recheck.
Finishing and storage
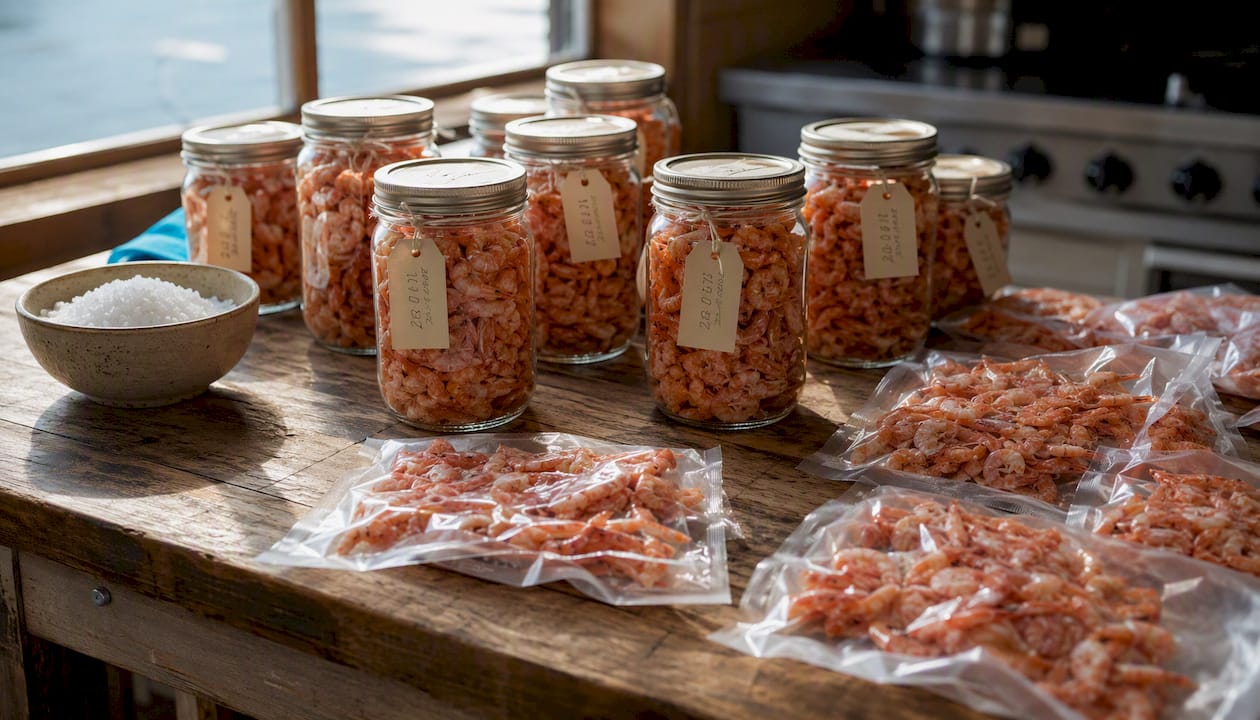
Pat tails dry before packing. Vacuum sealing is the gold standard for freezer storage — it prevents the ice-crystal damage that causes shell flaking and texture loss during freeze-thaw cycles. When shrimp are properly blanched, brined, and vacuum-packed, they can remain usable after freezing and repeated thaw cycles for several months. If you’re storing live shrimp before curing, a snap-top container with a damp paper towel and small ventilation holes can extend shelf life for several days under cool conditions.
Pro Tip: Use non-iodized salt every time and hit that ice bath the second the blanch timer goes off. These two steps alone separate firm, fishable bait from a mushy mess.
What are the quickest alternatives when you can’t do a full cure?
Sometimes you’re on the water at dawn and a full brine isn’t happening. These forum-tested shortcuts get you fishing fast:
- Salt-only freeze: Layer shrimp between dry non-iodized salt in a zip bag and freeze immediately. Fast, minimal equipment. Bait is softer than a full cure but still fishable for a session.
- Dry borax layering: Dust shrimp generously with powdered borax and pack in a container. Works as a short-term field cure (a few hours) when you need to toughen tails before rigging. No boil required.
-
Rapid freeze in saltwater: Pack shrimp in a plastic container, cover with saltwater, and freeze as fast as possible. show this preserves texture better than slow freezing, though bait won’t be as durable as a brined batch.
- Store-bought prawns with scent: When sand shrimp simply aren’t available, tiger prawns or bay shrimp from an Asian market work as a substitute. Add a few drops of sand shrimp oil or anise and rig the tail. You trade some effectiveness for pure convenience, but it’s a solid backup when the bait shop is out.
Each method has a trade-off. Salt-only and borax-dry cures are fast but shorter-lived. The freeze method buys you time but softens the meat. Store-bought prawns skip the whole process but lack the natural scent profile of a fresh sand shrimp. Use them as backups, not replacements.
How do you rig cured sand shrimp to last more casts?
Rigging is where most anglers lose bait they worked hard to cure. The tail-only approach is the move. Cut the tail section free, then insert the hook shank parallel to the tail’s axis so the point exits near the tip. This alignment stops the bait from spinning on the drift, which both reduces line twist and keeps the tail intact longer.
Secure with a bait loop wrapped just behind the hook eye, not at a joint. Placing the loop on a joint is one of the most common rigging mistakes — it cuts through the meat on the first cast. Stab the hook crosswise through soft belly meat and you’ll get two casts, maybe three. Thread it lengthwise and wrap it right, and the same tail can survive a full drift and come back fishable.
Pro Tip: Before your first long drift, make two short test casts and retrieve the bait. If the tail is still centered on the hook and the loop is holding, you’re set. If it’s already slipping, re-rig before you waste a drift.
Cured tails perform well behind bait divers for salmon and steelhead. Under a bobber, they’re deadly in slower water. Rebait when the tail goes translucent or starts tearing at the loop point — color and scent fade fast once the meat starts breaking down.
Why is your cured bait coming out wrong?
| Problem | Likely cause | Fix |
|---|---|---|
| Mushy, soft tails | Skipped the blanch or blanch too short | Re-blanch briefly; add time next batch |
| Brittle, snapping tails | Overcooked or over-cured | Cut boil to 90 seconds; shorten cure to 18–20 hours |
| Off-smell, sour odor | Stored too warm or too long | Check fridge temp; vacuum seal; discard if rancid |
| Poor color uptake | Iodized salt used, or no dye in brine | Switch to non-iodized salt; add liquid egg cure |
| Bait falls off after one cast | Rigging error, not a cure problem | Re-rig tail-only with bait loop parallel to shank |
Smaller shrimp cure faster — if you’re working with tiny specimens, pull them at 18–20 hours and check firmness. Cooler environments slow the process, so if your garage is cold, add a few hours. Discard any batch that smells rancid or has a slimy surface texture. No cure fixes spoiled bait.
- Watch for slimy texture or a foul, ammonia-like odor — those are discard signals, not fixable problems.
- Adjust brine strength down slightly for smaller shrimp to avoid over-curing.
Pro Tip: Always test one dozen shrimp before committing your whole haul. A small test batch costs you nothing and tells you exactly where to adjust before you ruin 200 tails.
The best ready-made cure to pair with your recipe
The High Class Tackle Co. Pro Cure Shrimp & Prawn Cure in Fire Ball Red drops straight into the brine recipe above. Use it according to the product label dosage, then add it to your quart-jar brine alongside the salt, sugar, and borax. The purpose-made formula delivers consistent fire-red color, built-in attractant carriers, and shelf stability that’s hard to replicate with DIY dye alone.
Purpose-made cures like this one take the guesswork out of color consistency, which matters when you’re fishing pressured PNW rivers where presentation differences get noticed. Modern shrimp curing approaches have moved toward standardized products that simplify dosing and add attractants, and for good reason — consistent results batch after batch.
- Integrates directly into the brine recipe above (add after water, before shrimp)
- Fire Ball Red color is proven for steelhead and spring Chinook
- Available through the Highclasstackleco online store
- Follow the product label for exact dosage; don’t double up on dye additives
Check out the shrimp cure guide for deeper recipe variations and alternative color options.
Key Takeaways
A short blanch followed by a 24–48 hour non-iodized salt, sugar, and borax brine is the single most reliable method for producing firm, fishable cured sand shrimp.
| Point | Details |
|---|---|
| Blanch first, always | 90–180 seconds in boiling water sets proteins and prevents mushy bait. |
| Nail the brine ratio | 1 cup each of non-iodized salt, sugar, and borax per quart of water; cure 24–48 hours. |
| Store right to last several months | Vacuum seal or jar-pack before freezing to prevent ice-crystal damage. |
| Rig the tail parallel | Thread hook shank along the tail axis with a bait loop to maximize casts per bait. |
| Highclasstackleco Pro Cure | Fire Ball Red integrates directly into the brine recipe for consistent color and scent. |
What actually matters when you cure sand shrimp
The boil-and-brine method works because it solves the core problem with sand shrimp: they’re fragile by nature, and without a protein-setting step, no cure in the world will produce durable bait. Most failed batches trace back to one skipped step, not a bad recipe.
What gets underestimated is how much rigging technique affects the result. A perfectly cured tail rigged wrong still falls apart in two casts. The cure and the rig are a package deal. When both are dialed in, cured sand shrimp can outfish live bait on tough days because the scent disperses more slowly and the presentation stays consistent through a long drift.
For first-timers: cure one dozen tails before processing your whole haul. Adjust blanch time and cure duration based on that test batch. Highclasstackleco’s Pro Cure Shrimp & Prawn Cure makes the color and scent side of the equation consistent from batch one.
Get the cure that makes every batch count
Highclasstackleco carries the Pro Cure Shrimp & Prawn Cure in Fire Ball Red so you can skip the guesswork on color and scent and focus on the water. Add it to your brine exactly as the label directs, follow the blanch-and-brine steps above, and you’ll have fire-red, durable tails ready for steelhead and salmon season.

The full lineup of terminal tackle, hooks, and bait accessories ships direct from the Highclasstackleco store. Stock up on hooks and components while you’re there — the right hook makes the rig, and the rig makes the cure worth it.
0 comments